DNX One Tutorial: Billing Stack
The billing stack contains the following resources:
- Billing role that trusts your Identity Provider (SSO)
- Budget with email alarm
- Cost Anomaly detection with email alarm
It's deployed in the Master (aka Management) account, to give billing visibility of the whole Organization. But it should work in individual accounts too, giving visibility of the individual account billing.
Preparing
Enable IAM Access to Billing
By default, the AWS account do not allow IAM Users or Roles to access billing information. To change this, please follow the steps from this document: tutorial-billing
IAM Identity Provider (SSO)
Since the Billing role create needs to trust access to an SSO, before deploying this stack, you need to make sure an IAM Identity Provider exists for your SSO.
Go to IAM > Identity Providers and check the existance.
If you see a <org-name>-sso provider, click and copy it's ARN.
If not, please see "SSO Configuration" section that is part of this documentation.
Deploying
Login to your Master (aka Management) account using an Administrator user or the "root" user.
Go to Cloudformation
Switch to US East (N. Virginia) us-east-1 region.
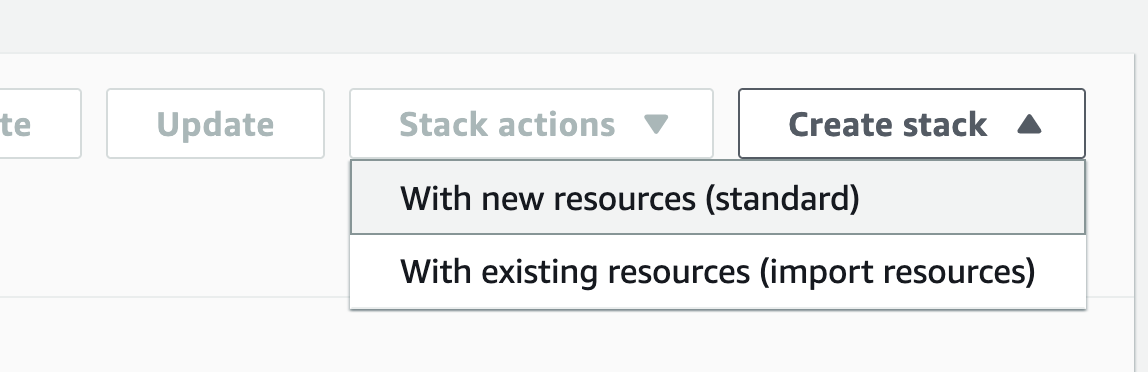
In the right corner, select Create stack > With new resources (standard)
In the Amazon S3 URL paste the following:
https://dnx-assets-prod.s3.ap-southeast-2.amazonaws.com/assets/billing-us-east-1.cf.yml
Click Next and adjust the parameters as described in the screen, with a few remarks:
DNX: Choosing "true" will provide access to DNX into your billing.OrgName: Use a simple lowercase, no space, DNS-friendly name for your organization (example:my-company)SAMLProviderArn: Paste the IdentityProvider ARN collected in the previous section.SAMLProviderDocument: Optionally, you can paste the contents of your IdP XML Metadata here, but it only works for metadata below 4kb (Google SSO is usually ok). This will create the IAM Identity Provider.
Click Next until the end and deploy the stack.