AWS Organization and Accounts
Scope
Create the organization following the steps at: https://docs.aws.amazon.com/organizations/latest/userguide/orgs_tutorials_basic.html#tutorial-orgs-step1
Create the new AWS Accounts as per the architecture defined.
AWS Account Email Addresses
To create the accounts, you will need a unique email address for each account.
If you use Office365 as your email provider, you must create an email alias per account.
Examples:
If your email provider is Google, it supports adding a plus sign to automatically create aliases.
Example:Email is aws@piedpiper.com
Supported aliases:
With the account names and emails prepared, next step is to create the new AWS accounts.
Creating AWS Accounts
Follow the steps at: https://docs.aws.amazon.com/organizations/latest/userguide/orgs_manage_accounts_create.html#orgs_manage_accounts_create-new
Once the accounts are created, it's a good practice to add to an Organizational Unit. It will help deploying CloudFormation Stacks in the next step and later to apply Service Control Policies to the accounts.
Creating an Organizational Unit
Follow the steps at: https://docs.aws.amazon.com/organizations/latest/userguide/orgs_manage_ous.html#create_ou
You can name your new OU as "Citadel" or any name you wish for this new group of accounts.
Once the OU is created, move the new accounts into the OU, by selecting the AWS Accounts and selecting "Actions" -> "Move".
Deploy identity-baseline to new AWS Accounts
The process of implementation of Citadel requires that the AWS account is setup with common IAM roles. These roles allow continuous compliance tools to run and create infrastructure. It includes roles to allow access from DNX and Citadel Automation, as well as roles for accessing the account billing (BillingAccess) and to deploy infrastructure from a developer machine (InfraDeploy).
When enabled, DNX engineers can log on to the accounts using an MFA-enforced SSO and assume a role in the target AWS account, a similar process is described at https://docs.aws.amazon.com/IAM/latest/UserGuide/tutorial_cross-account-with-roles.html).
Creating the CloudFormation StackSet
Steps:
-
Login to AWS console.
-
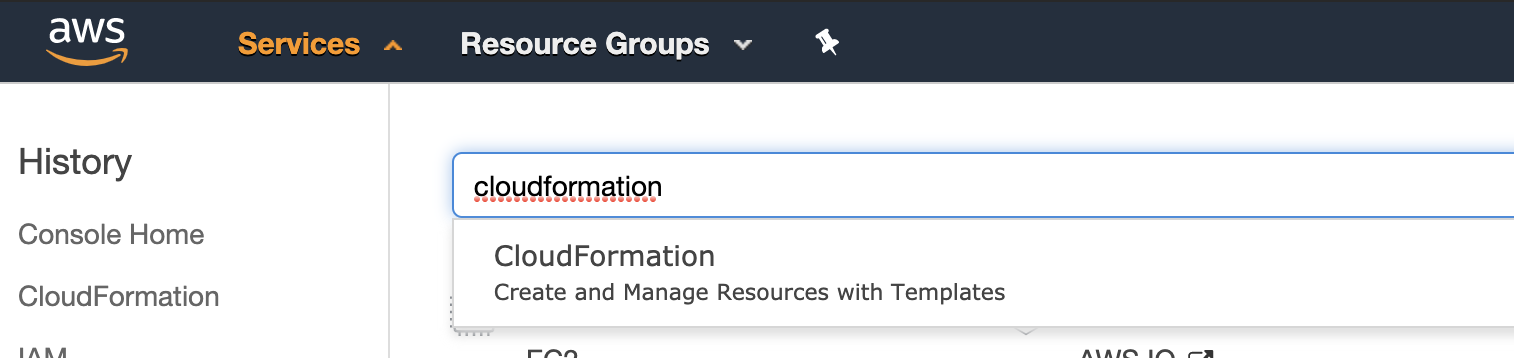
Go to Services and type "CloudFormation"
-
Click on CloudFormation
-
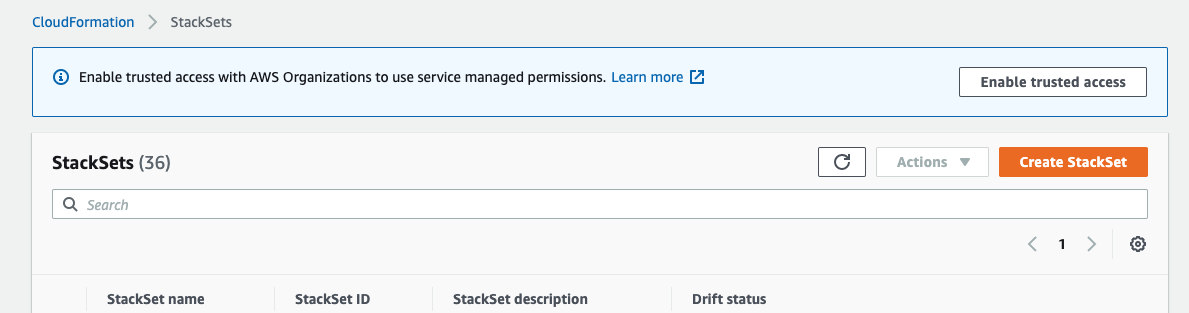
Click on StackSets in the left-hand sidebar.
Trusted Access
If you created the AWS Organization and it's the first time accessing StackSets, you will see the following message as below, click "Enable trusted access" to allow the Master (Management) account to deploy CloudFormation Stacks to the Organization child accounts.
-
Click "Create StackSet"
-
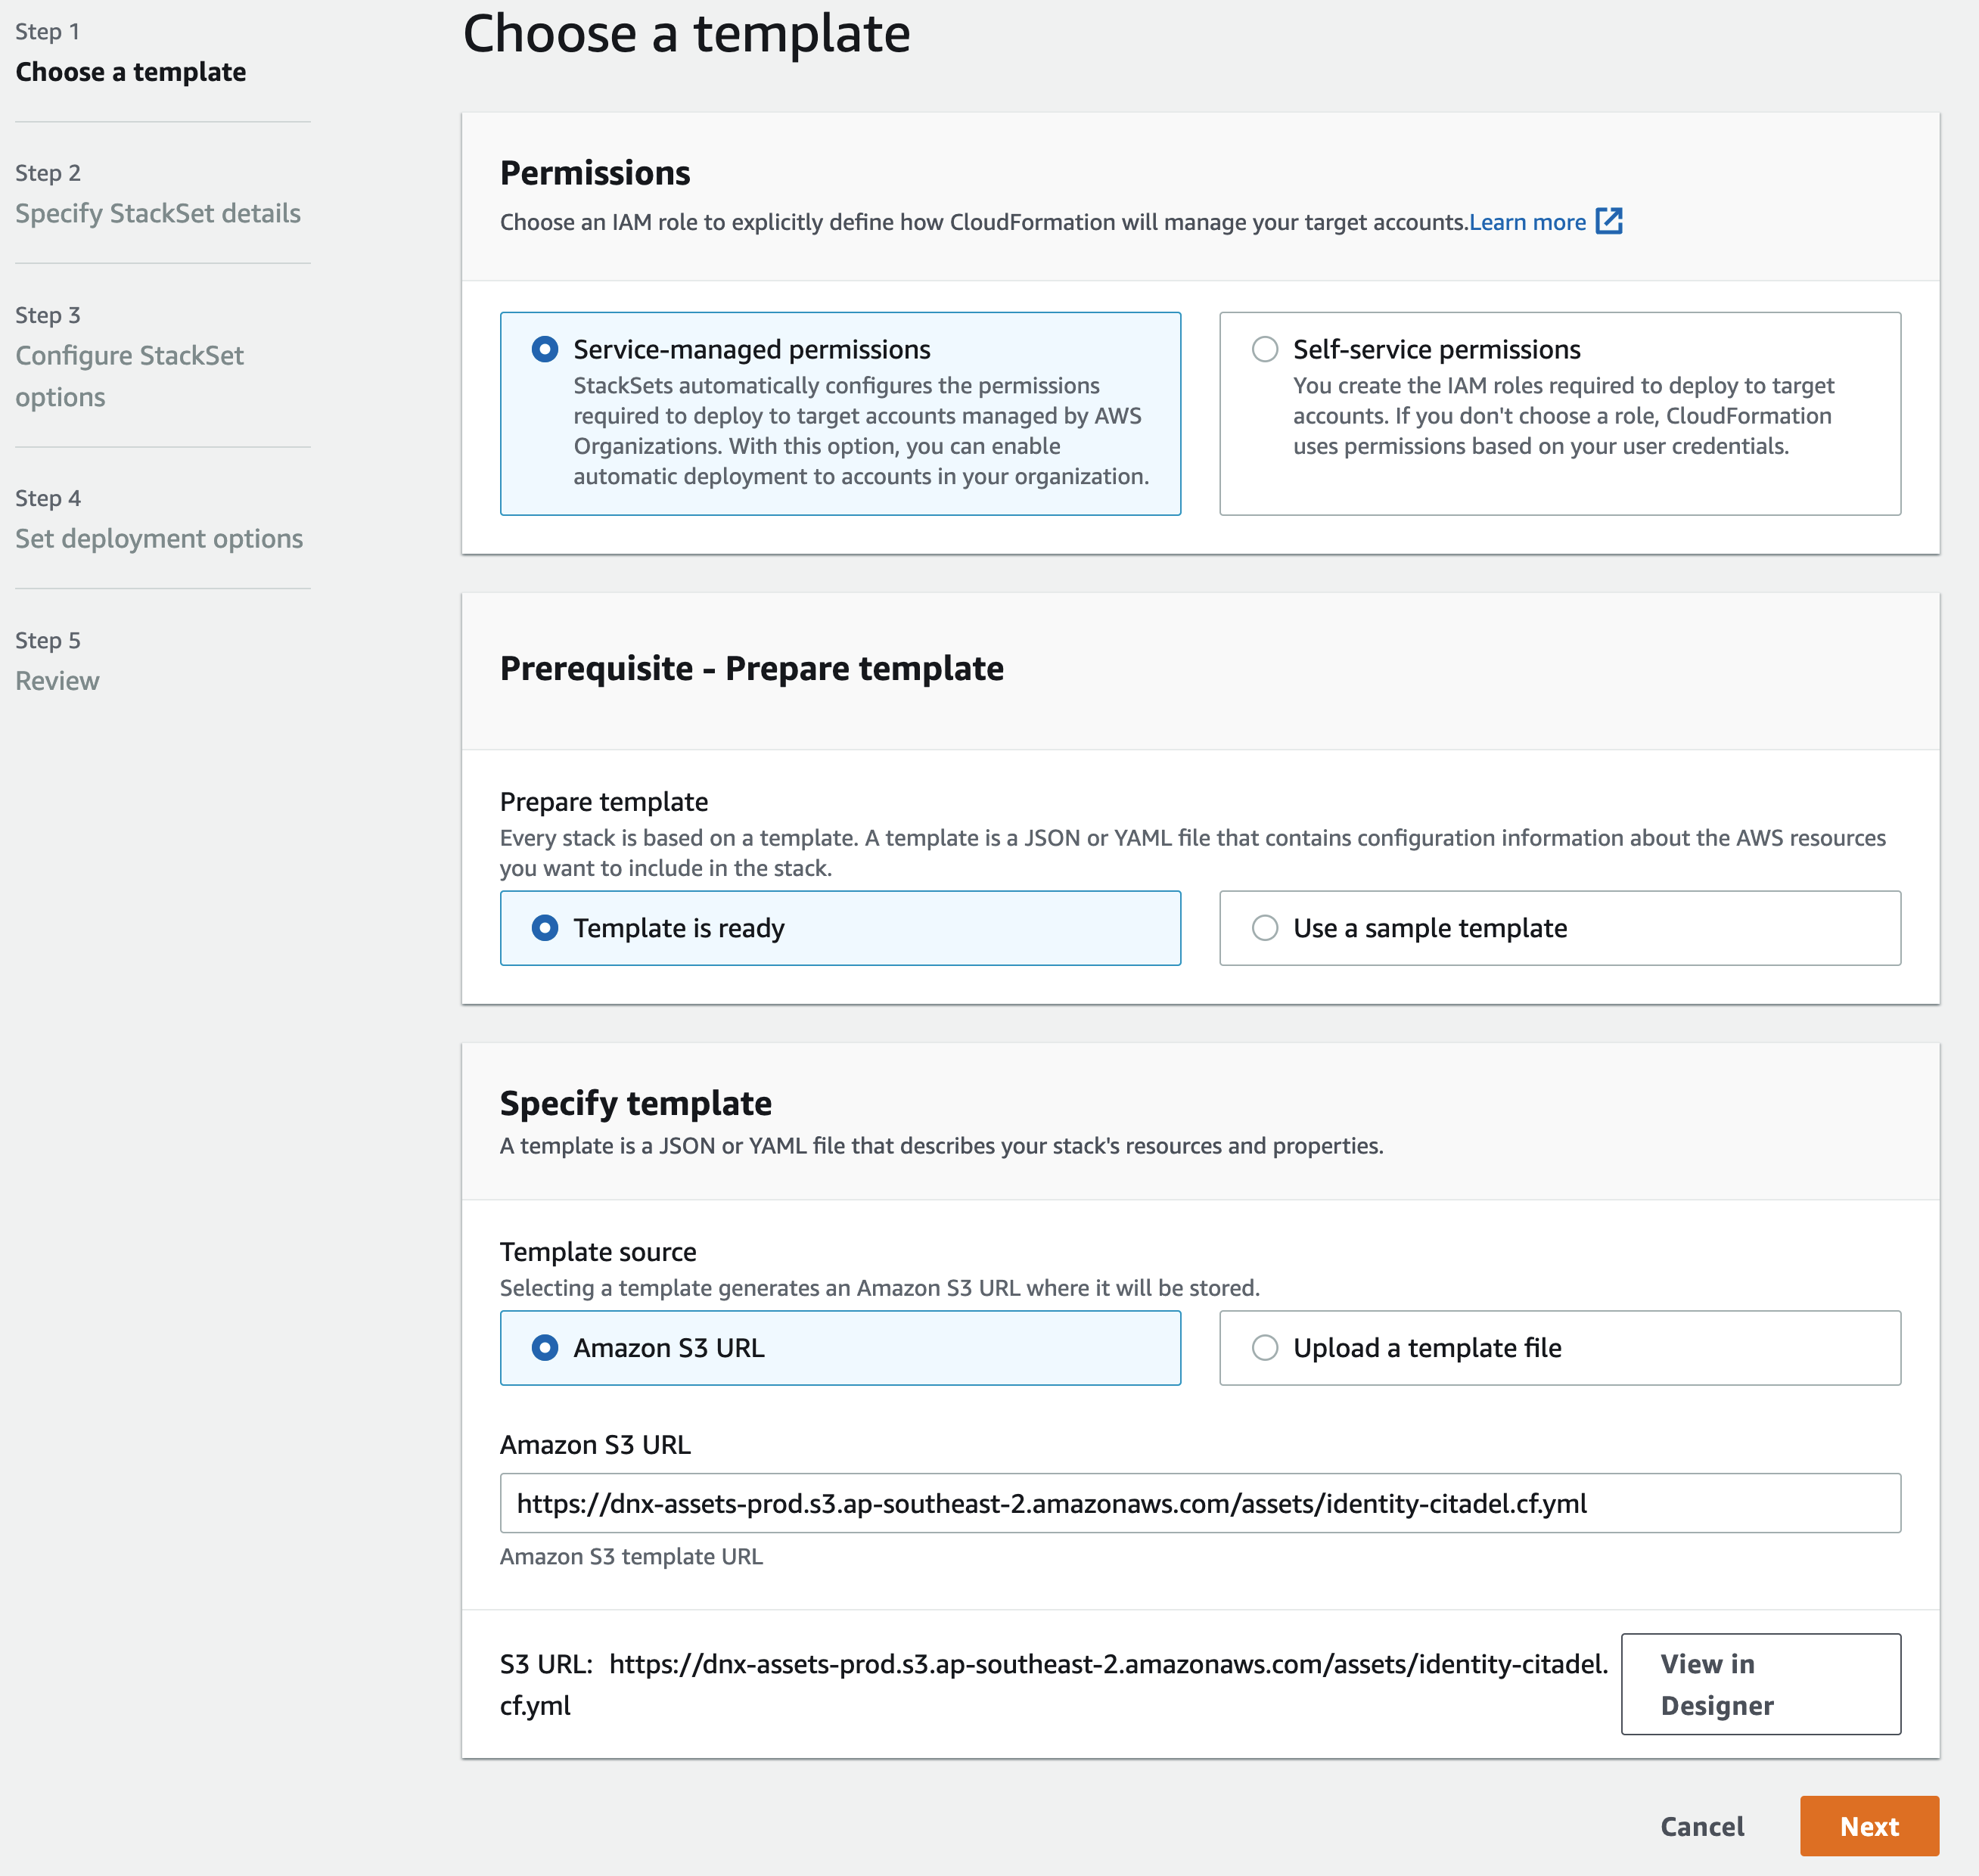
Select "Template is ready" and "Amazon S3 URL" to specify the template to be used. Enter the URL: https://dnx-assets-prod.s3.ap-southeast-2.amazonaws.com/assets/identity-citadel.cf.yml And click Next.
-
Enter the stack name as "identity-baseline", set the OrgName as your organization name
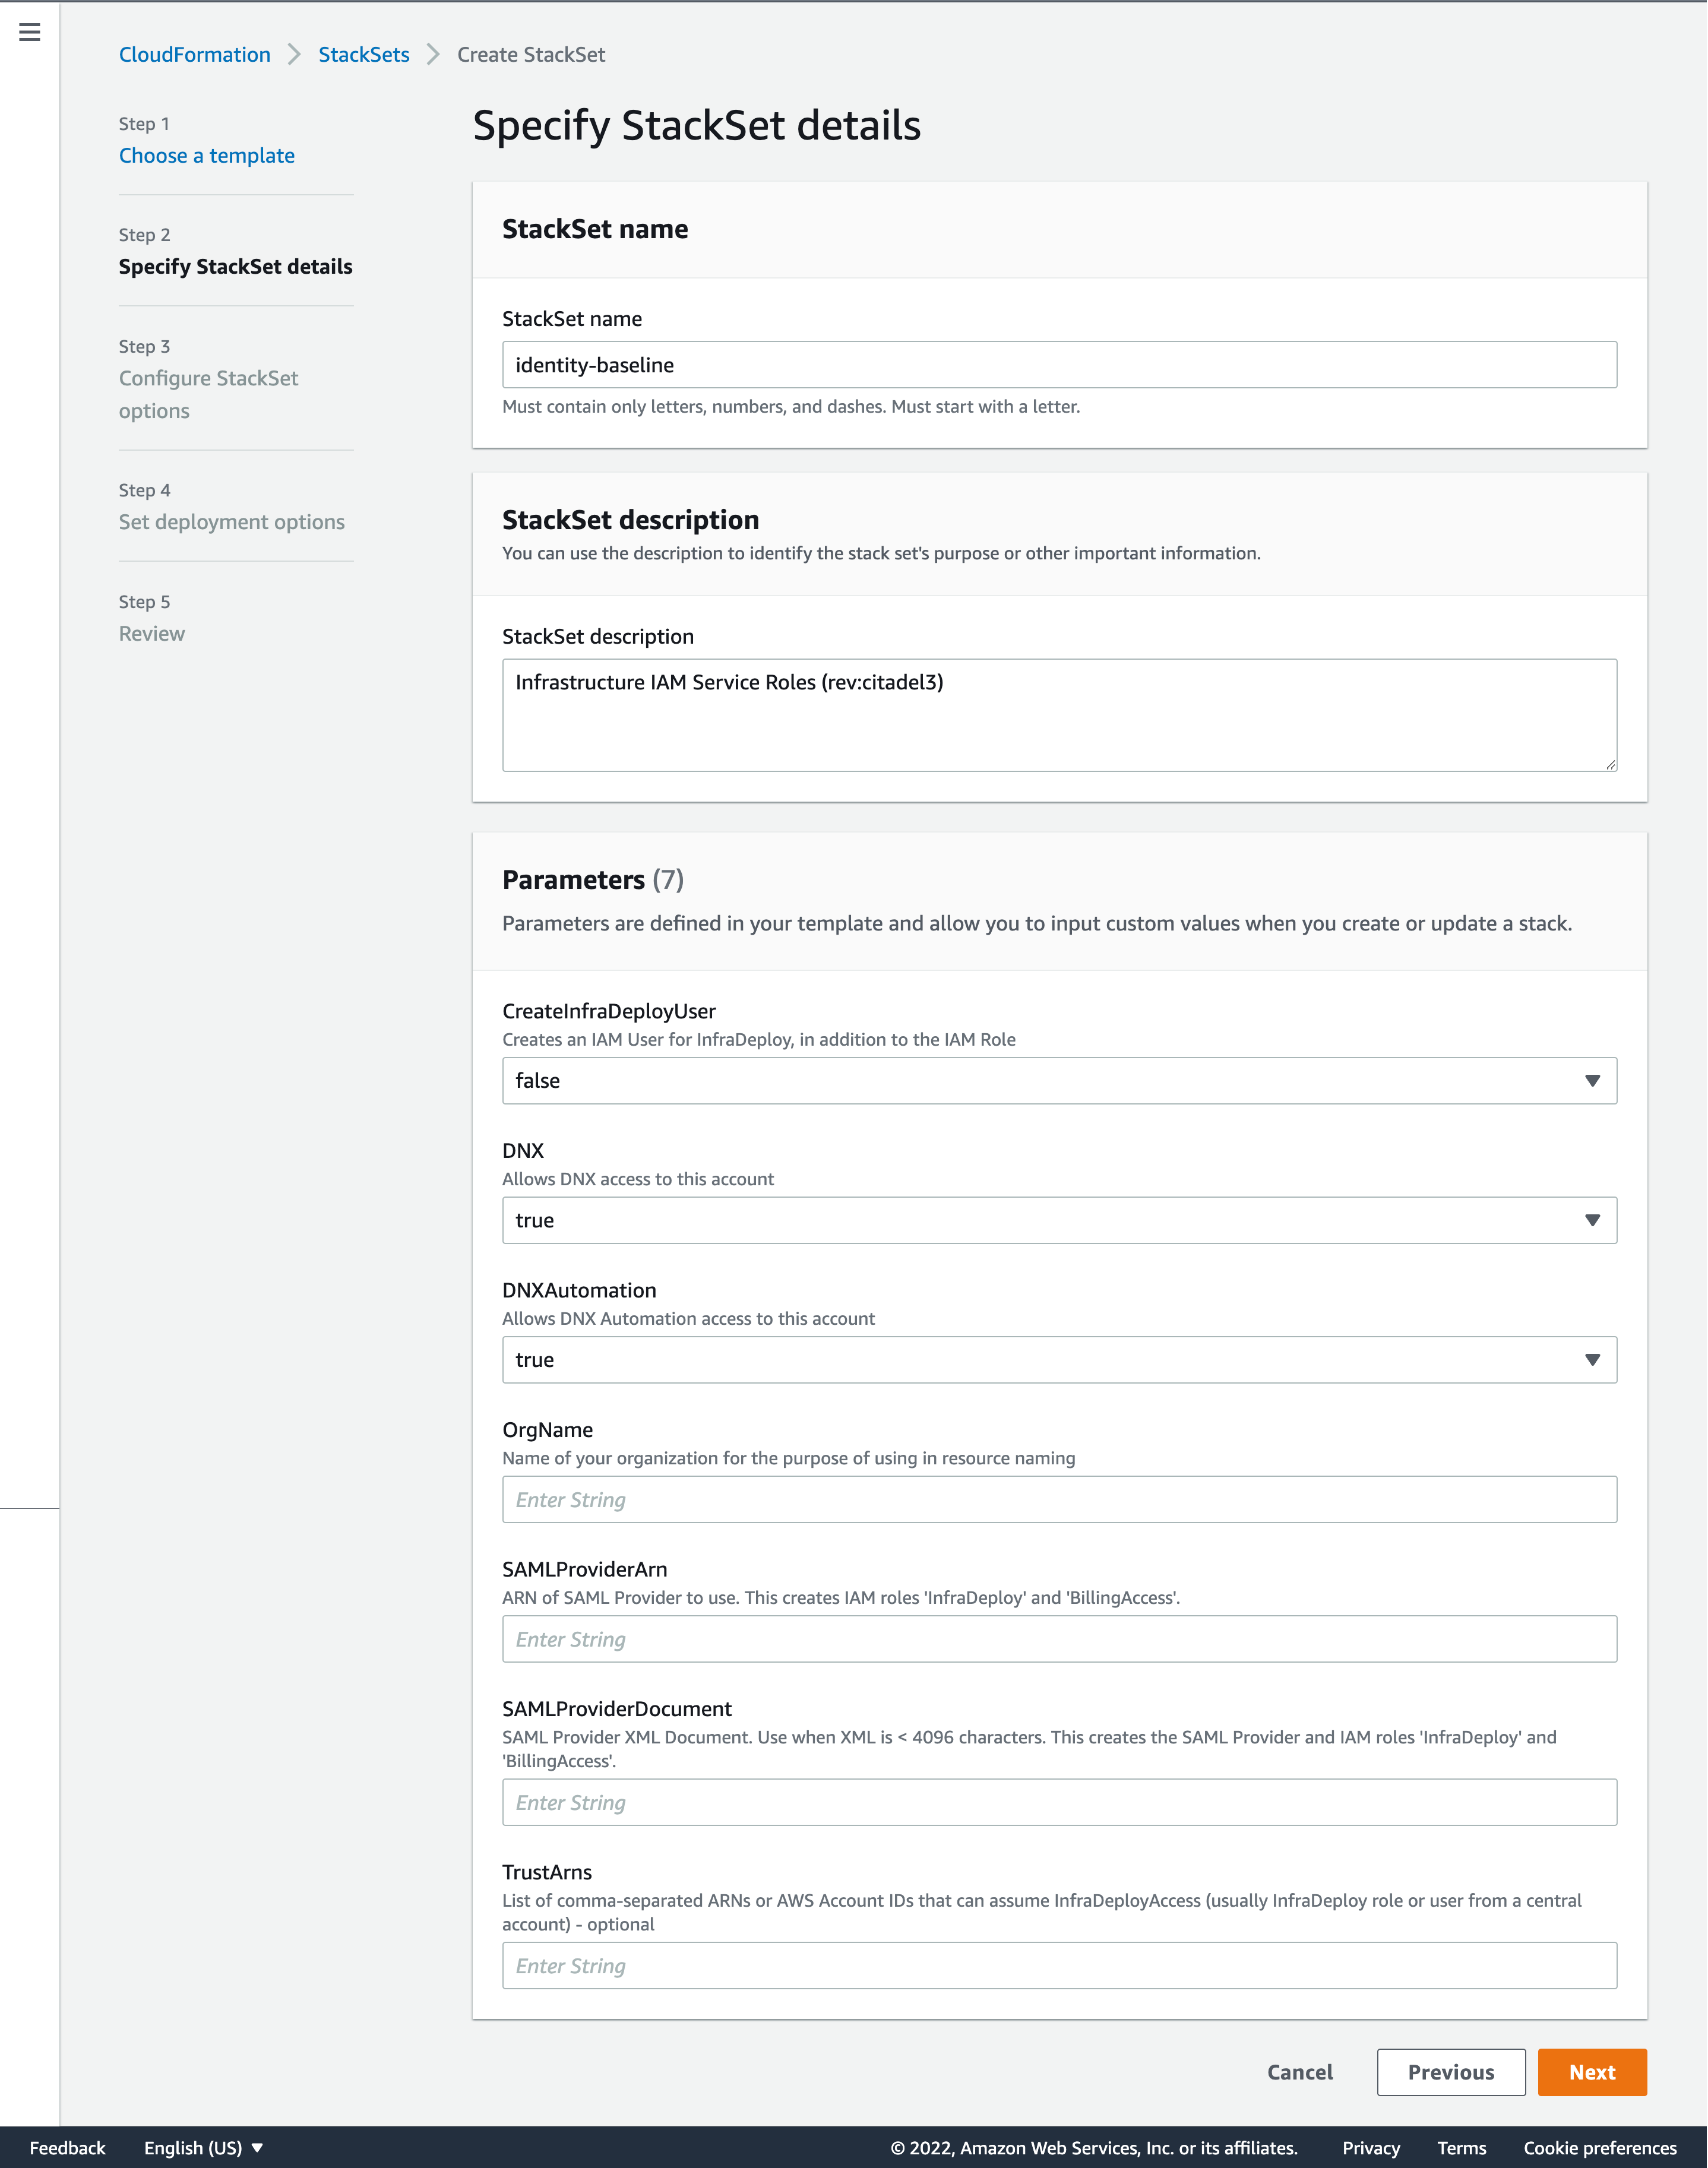
- Click Next and enter the OUs to deploy this stack.
Select "Deploy to organizational units (OUs)"
Enter "AWS OU ID" as the ID copied from the Organization before.
Leave "Automatic deployment" enabled
Select "Account removal behavior" as Retain stacks.
On Specify regions, add your primary region to the list.
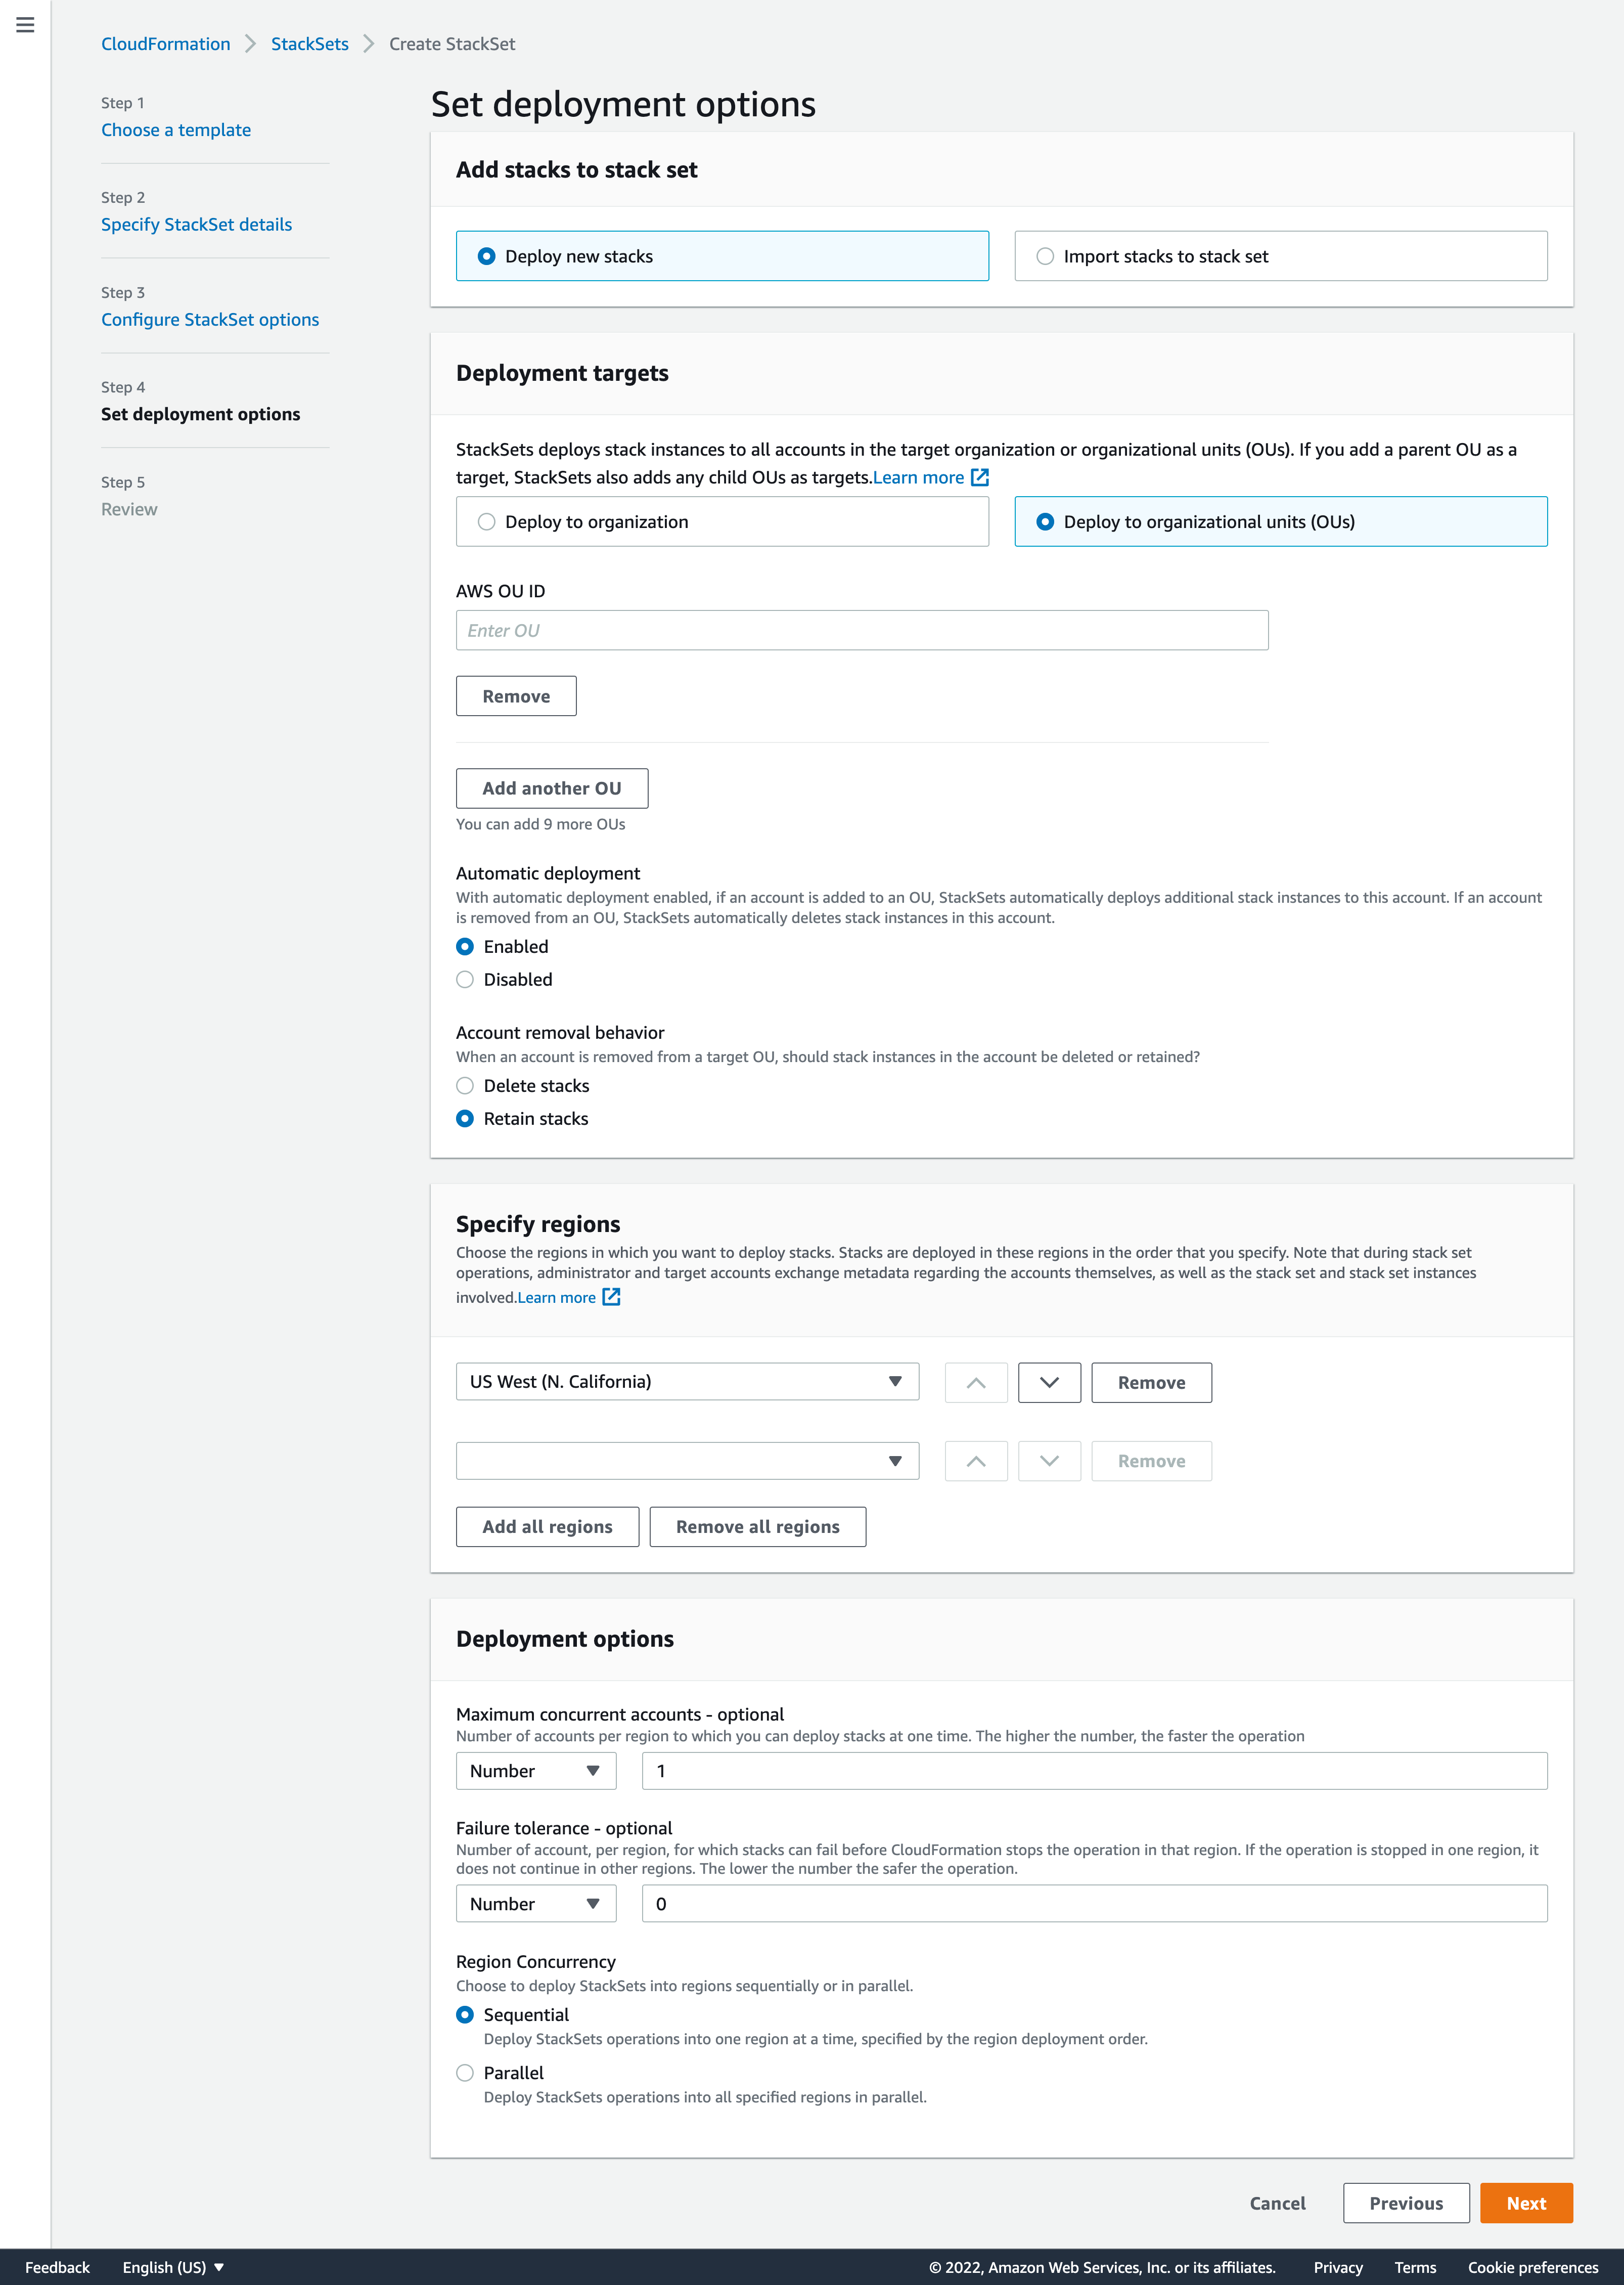 Deployment options can be left as default and click Next.
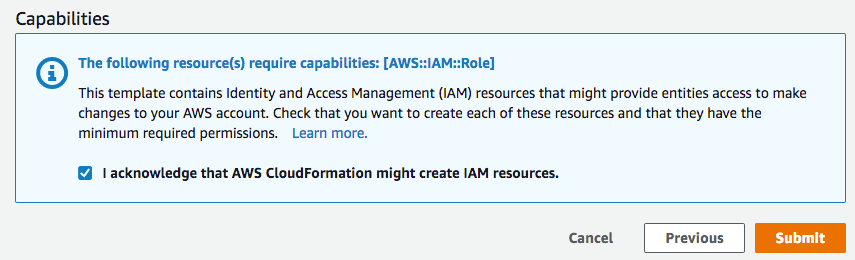
-
Review and click "Submit"
-
Wait a few moments and click on "Stack Instances", you should see all stacks with the status "CURRENT"
Account Number
Each Amazon account has an associated 12-digit account identifier (ID). This identifier needs to be sent to your Citadel customer engineer or partner. Below is how to know your account number.
- Log in to the AWS Management Console.
- At the top of the page, click the link that is your account name.
- Click My Account.
- Your 12-digit account ID is listed under Account Settings.
When the Identity-Baseline Stack is created in each account please notify DNX and send us the Account ID numbers.