DNX AWS Access
Description
In this tutorial, we will show how to set up the DNXAccess role that will give DNX secure access in your AWS account.
IAM Role
DNX will have access into the account via AWS IAM Roles. Usign this approach we can establish trust relationships between the customer accounts and DNX account.
Prerequisites
- AWS Admin Access to your AWS Master Account
- Your organization name. (Talk with a DNX representative to get this information).
Project Onboarding
Automatic Steps
- Access the link to configure your account. (It will open a new page redirecting to your AWS Account with the information pre filled)
Manual Steps
-
Login to AWS console.
-
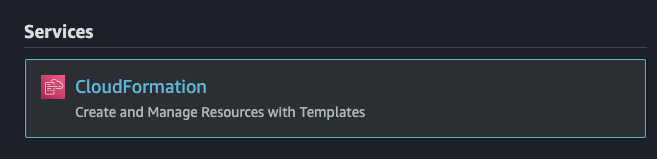
Go to Services and type "CloudFormation".
-
Click on CloudFormation.
-
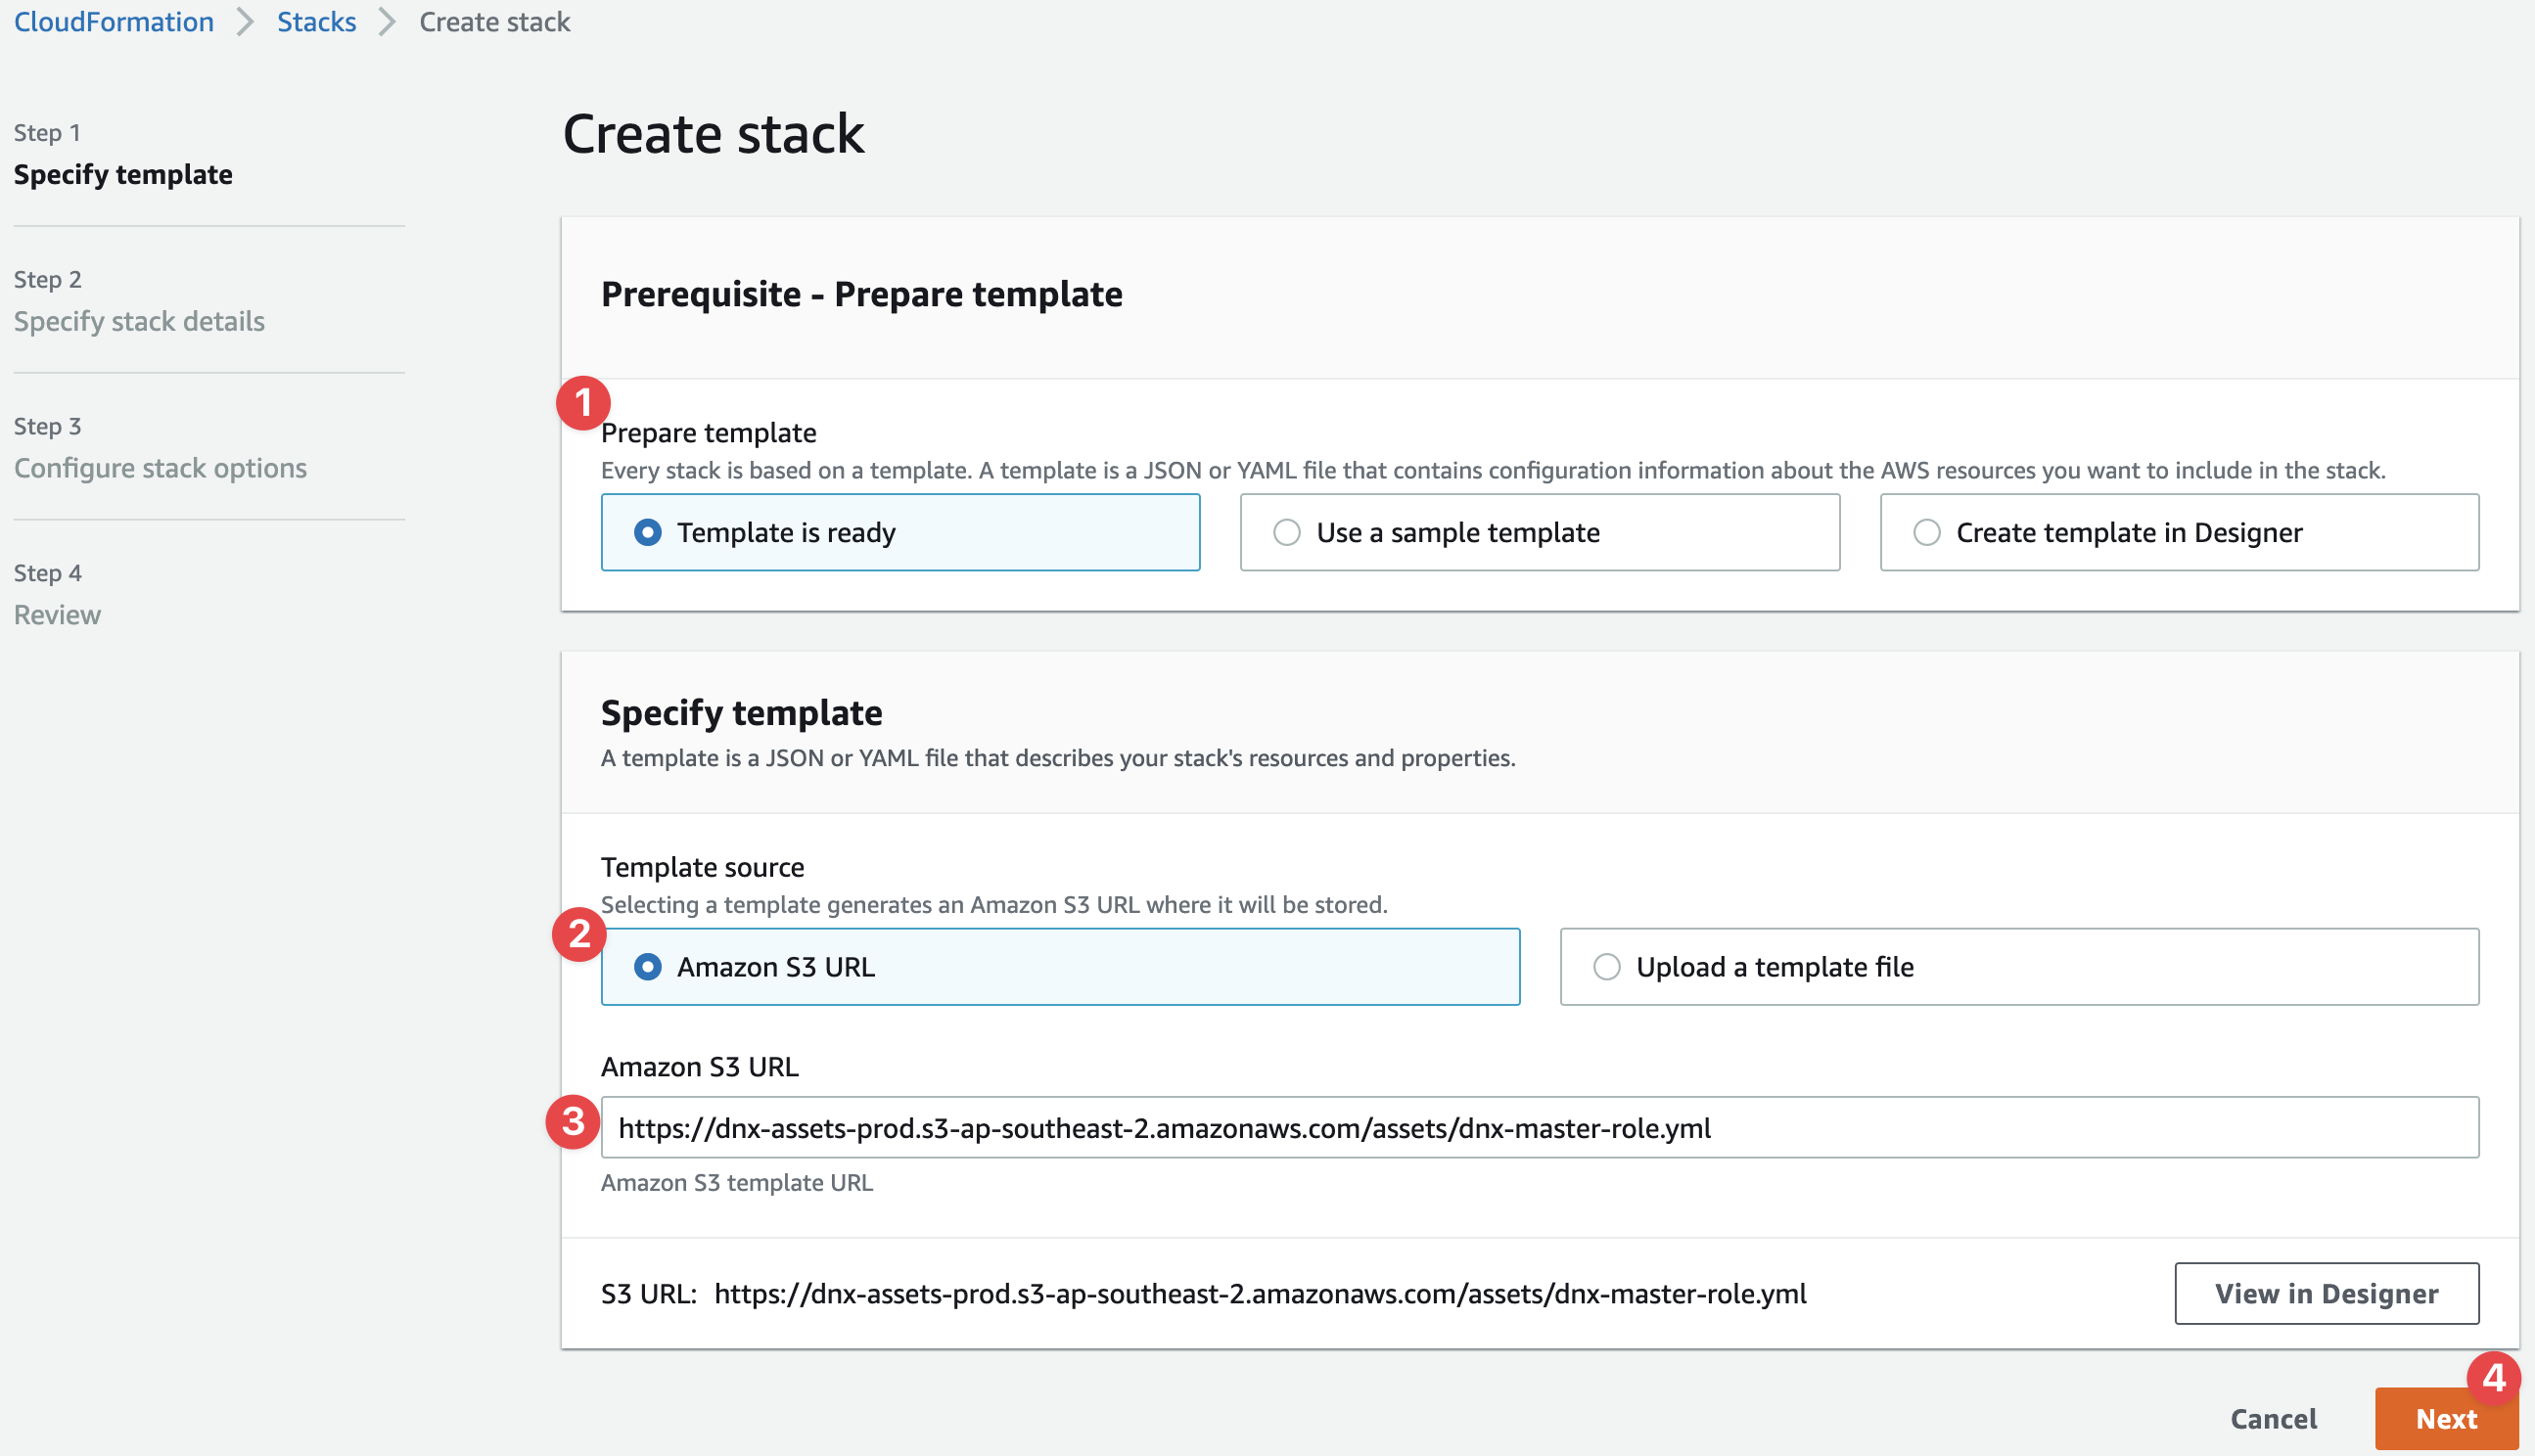
Click on Create stack

-
On the next page insert the stack link on Amazon S3 URL. Stack link: https://dnx-assets-prod.s3-ap-southeast-2.amazonaws.com/assets/dnx-master-role.yml
-
Click Next.
-
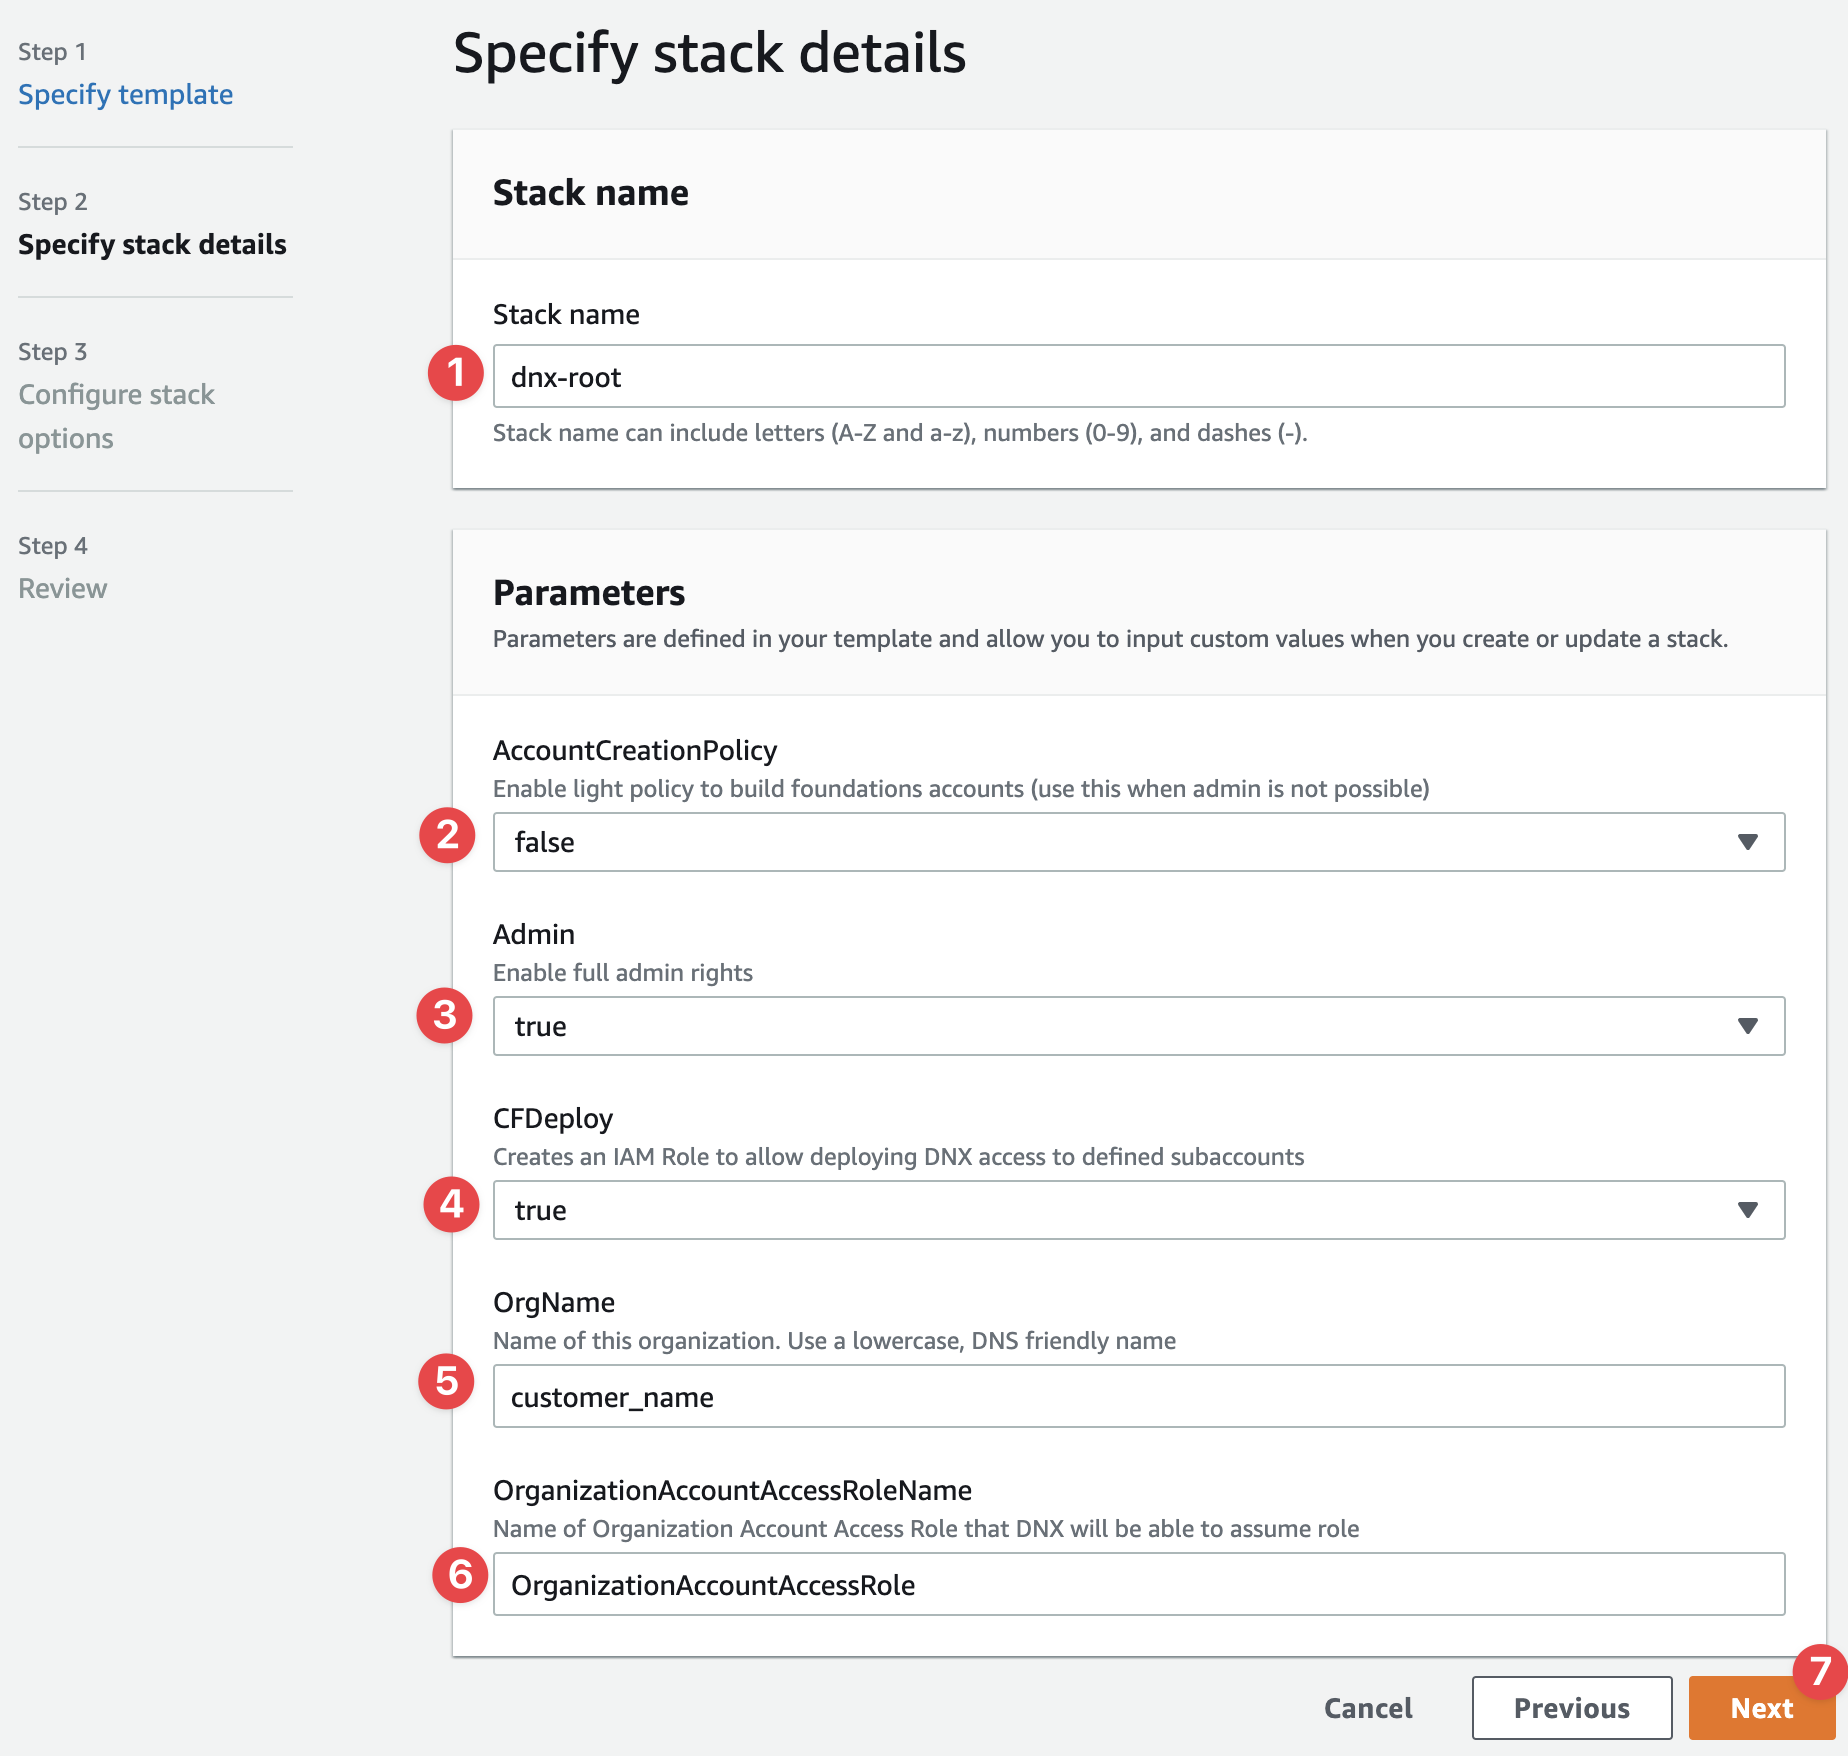
Insert the stack name "dnx-root".
-
In the Parameters area we have five options to choose:
- AccountCreationPolicy - Gives permission to DNX to create only new accounts inside the Master Account. Default "False".
- Admin - Admin access is required to build all Foundations features (default permission). Default "True".
- CFDeploy - Creates an IAM Role to allow deploying DNX access to defined subaccounts. Default "True".
- OrgName - Provided by DNX.
- OrganizationAccountAccessRoleName - Name of Organization Account Access Role that DNX will be able to assume role. Leave as default.
-
By default our stack will set up a full access role and grant DNX access for Billing. Click Next.
- On Configure stack options click Next.
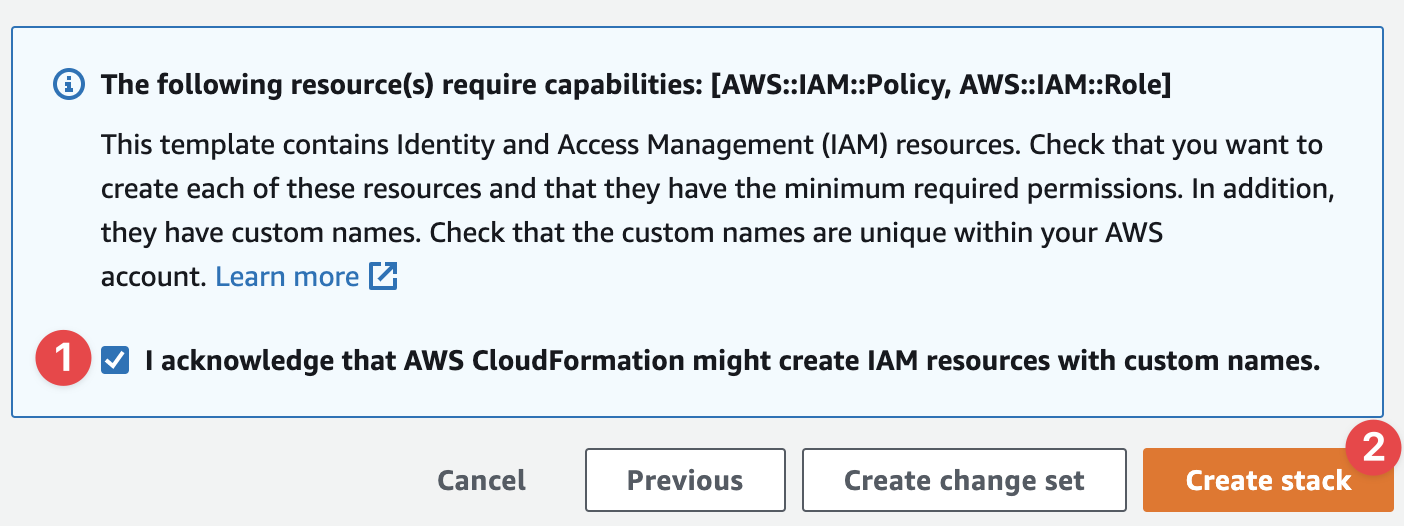
- On the Review page, mark the checkbox "I acknowledge that AWS CloudFormation might create IAM resources with custom names" and click in Create stack.
- On the Next page, wait for a few minutes and click in Refresh until the process is completed.
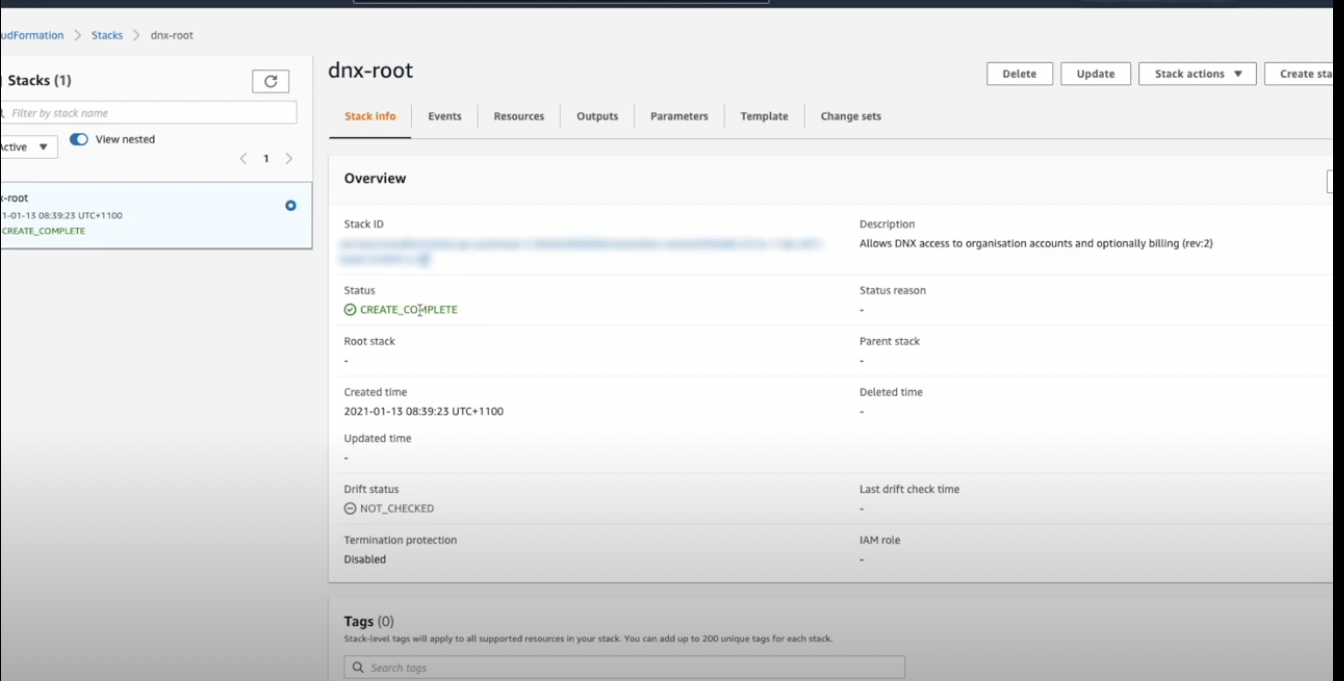
- When the status changes to CREATE_COMPLETE, the process is done.
Account ID
Each Amazon account has an associated 12-digit account identifier (ID). This identifier needs to be sent to DNX to start the Citadel Project.
How to get your AWS Account ID
- Log in to the AWS Management Console.
- At the top of the page, click the link that is your account name.
- Click My Account.
- Your 12-digit account ID is listed under Account Settings.
When the DNXAcces role is created please notify DNX and send us the Account ID number.
Project Offboarding
At the end of the project, the dnx-root Couldformation stack should be removed, removing the IAM role used by DNX during the project and preventing any access after the project is completed.
Steps
- Log in to the AWS Management Console.
- Go to Cloudformation and select the dnx-root stack
- Click on Delete option.
